
Screenshots are always useful when you want to take a picture of a strange error or something that pops up or goes away on the screen.
Each operating system, like Windows, Android, and IOS, has its own way on how to take a screenshot. We’ll show you how to do it easily on a Mac, too.
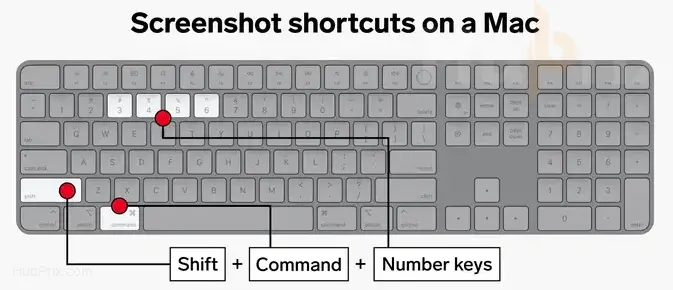
1. Entire Screen capture
Press the Command, Shift, and 3 keys at the same time to take a picture of your desktop right away.
In the bottom-right corner of your Mac screen, you’ll see a preview of the screenshot.
2. Selected Area Capture
Press Command, Shift, and 4 at the same time.
Now that your pointer is a crosshair, you can click and drag to make a box around the area you want to capture.
The screenshot is saved to your desktop when you let go of the mouse button.
3. Touch Bar Shortcut
Taking a screenshot of the Touch Bar display is another thing that can only be done with the Touch Bar.
To do this, press Shift + Command + 6.
Note: These options show up on the OLED strip if you have a MacBook Pro with a Touch Bar.
4. Single Window Capturing
- Step 1: Press the Command, Shift, and 4 keys at the same time to make the pointer look like a crosshair.
- Step 2: Hit the space bar. The pointer turns into a picture of a camera.
- Step 3: When you move your mouse over a window, a light blue outline appears around it. When you click on the window you want to take a picture of, the picture is saved to your desktop.
This method lets you save more than just windows. You can save the desktop, the menu bar, the dock, or even just an open menu.

Best Screenshot App on Mac
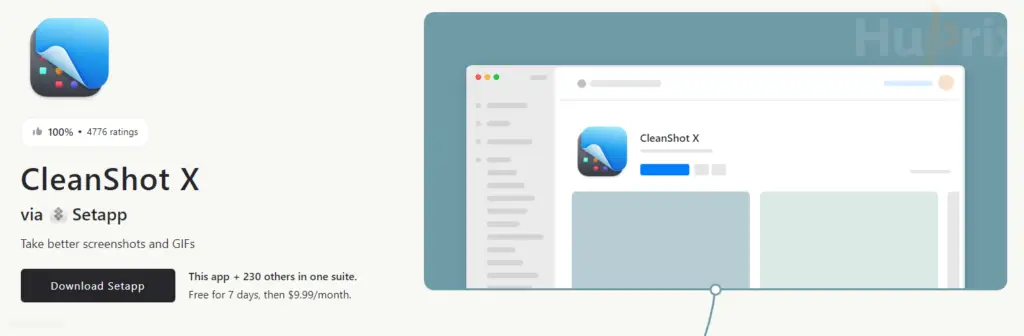
We use Sharex or Snipping tool to capture the screen, just like we do on Windows. Even on Mac, a well-known capture tool like CleanShotX is used to get the best picture of the screen, which has many amazing features.
CleanShot X lets you record video and GIFs and take screenshots of a window, the whole screen, an area, or even content that is scrolling.
You can choose to hide all the stuff on your desktop and turn off desktop notifications while you are taking a screenshot.
You can add notes, blur certain parts, or draw on the image.
Change Image Format on Mac
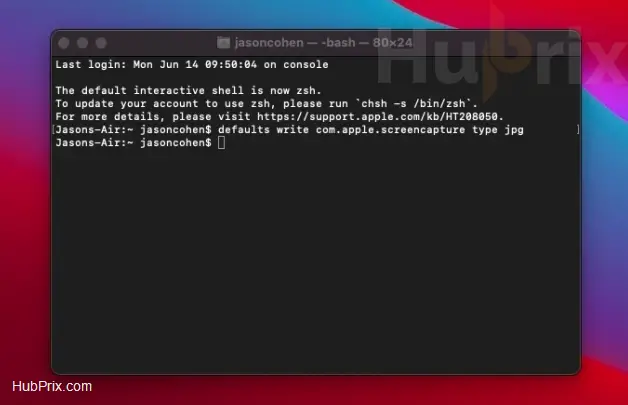
By default, Macs save screenshots as.png files, which can get pretty big if you have a large Retina display monitor.
With a little bit of simple coding, you can switch to the.jpg format.
Go to Launchpad > Other > Terminal. In the new window, type the following:
defaults write com.apple.screencapture type jpg